Bailey's Demise PTO (id:#60936)
One Log Bridge, Guadalcanal
1942-09-26 (10 others)
HS08: Bailey's Demise (HSASL 1 - Operation Watchtower)
S02: War of the Rats (ASL Starter Kit #1)
VotG22: Bark You Dogs! (ASL Journal # 9)
VotG23: Heroes of the Soviet Union (ASL Journal # 9)
S66: Bailey's Bridge (ASL Starter Kit #4)
RB#2: Street Wisdom (Stalingrad Baby Bounce 1)
RB#19: Step One (Stalingrad Baby Bounce 2)
RB#36: At The Mouth Of The Tsaritsa (Stalingrad Baby Bounce 2)
HC02: Bailey's Demise (ASL 13 - Rising Sun (2021))
#6: After The Fall (Devil's Grip: To The Volga 3)
S02: War of the Rats (ASL Starter Kit #1)
VotG22: Bark You Dogs! (ASL Journal # 9)
VotG23: Heroes of the Soviet Union (ASL Journal # 9)
S66: Bailey's Bridge (ASL Starter Kit #4)
RB#2: Street Wisdom (Stalingrad Baby Bounce 1)
RB#19: Step One (Stalingrad Baby Bounce 2)
RB#36: At The Mouth Of The Tsaritsa (Stalingrad Baby Bounce 2)
HC02: Bailey's Demise (ASL 13 - Rising Sun (2021))
#6: After The Fall (Devil's Grip: To The Volga 3)
Designer: Nadir El-Farra
Starter kit scenario?: Deluxe scenario?:
Balance:
American (USMC)Japanese
Overview:
As part of the three-pronged attack against Japanese positions on the western bank of the Matanikau River, the 1st Raider Battalion was to cross the river at a small footbridge. At the same time, elements of the 5th Marines would attack at the river's mouth, tying down the Japanese forces. Finally, half of Chesty Puller's 1st Battalion of the 7th Marines would be landed west of the Matanikau to encircle the defenders. All of these actions hinged on the Raiders crossing the Matanikau and attacking from the west bank of the river., but none of the Marine planners knew the Japanese had crossed to the east bank of the river.Attacker: American (USMC) (1st Raider Battalion)
Defender: Japanese (12th Company, 124th Infantry Regiment)
6 turns
Players: 2 OBA: None Night: No| Unit Counts: |
| Squads: A:12.0 D:8.0 |
| AFVs: A:0 |
| AFVs: D:0 |
| Guns: A:0 M2 60mm Mortar D:0 Type 89 Heavy Grenade-Launcher x 2 |
| Misc Rules: | HC SSRs. A: American leaders are Stealthy |
| Map Board(s): |
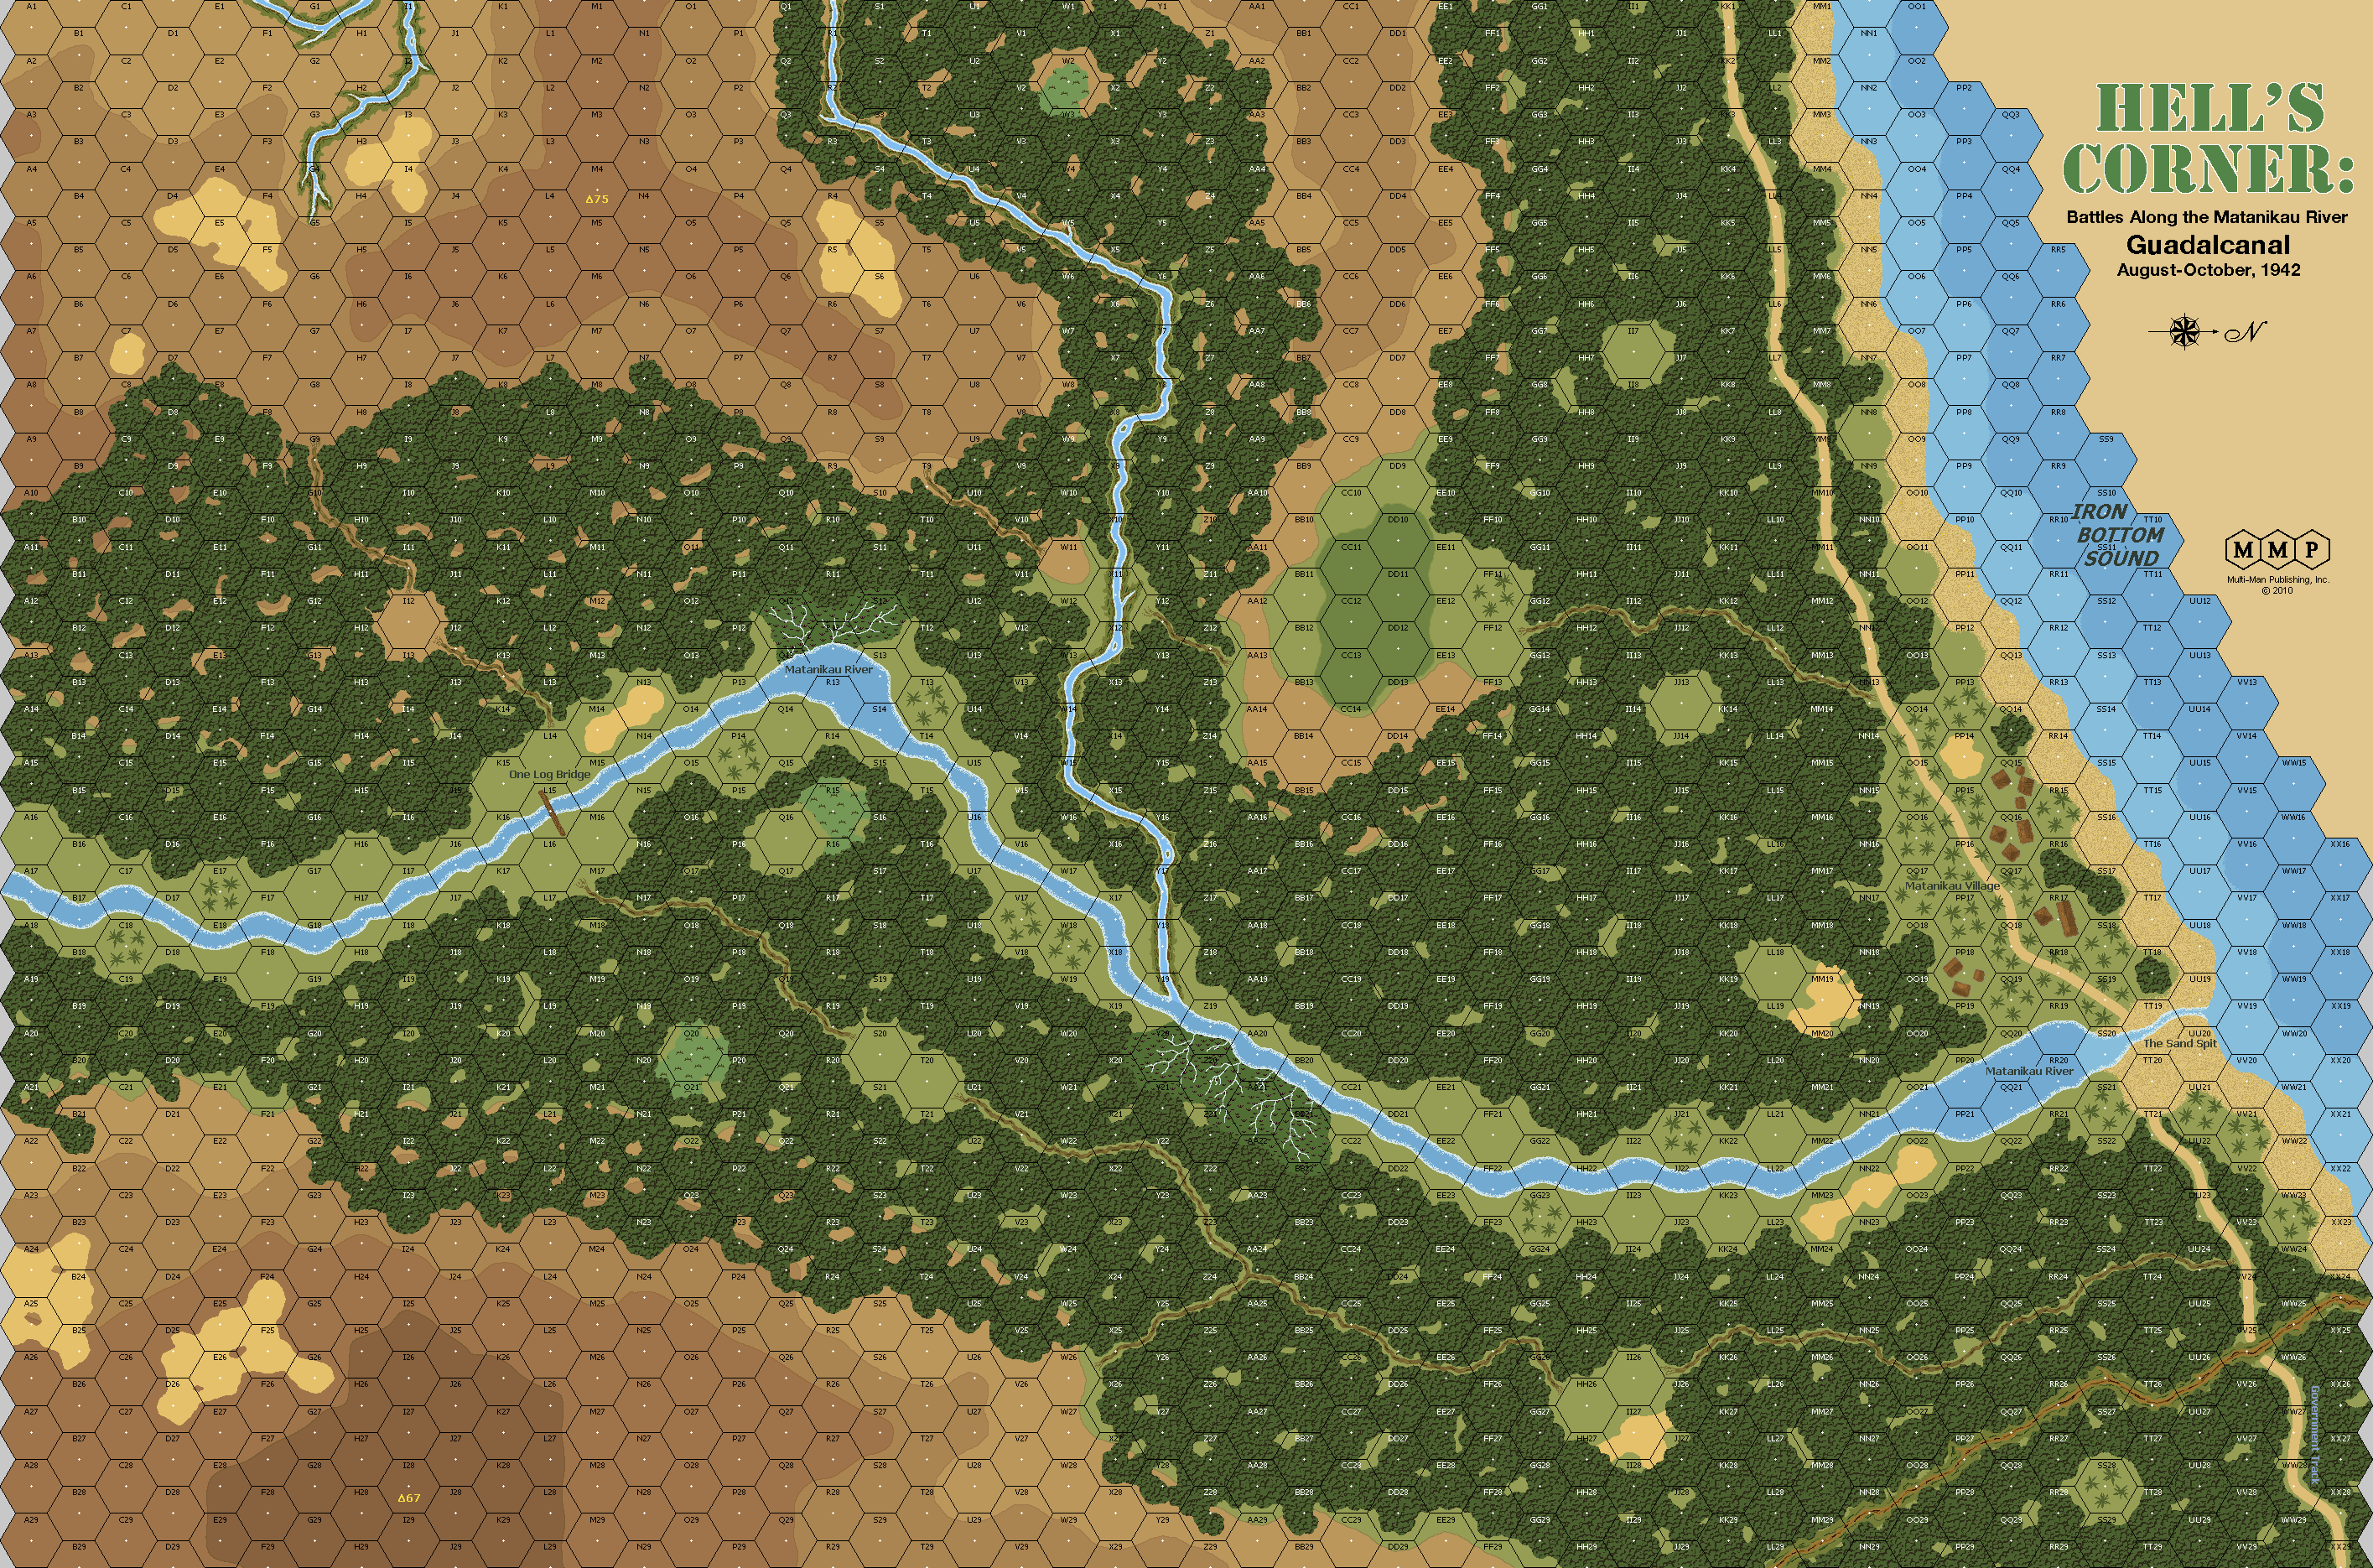
| Overlays: | NONE |
Errata (source)
Players wanting to play this game/Request a match:
Scenario info
Last Played:
View all or balance report
| Action | Date |
|---|---|
| Hutch Modified the overview | 2026-09-26 11:29:39 |
| Hutch Linked the scenario to ROAR | 2025-09-26 10:02:33 |
| Hutch Modified the gps location | 2025-09-26 10:01:19 |
| Hutch Updated the Scenario ID | 2023-03-05 20:04:23 |
| buser333 Added a playing | 2022-10-18 19:04:04 |
| File | Description | User | Views |
|---|---|---|---|
| Bailey's Demise HC2 VASL Setup (Bailey's Demise HC2.vsav) | VASL Setup | zcrater | 2125 |
| Bailey's Demise HC2 VASL Setup (Bailey's Demise HC2.vsav) | VASL Setup | zcrater | 2221 |
| (usmc-jap.png) | Image | hoxson1 | 1921 |
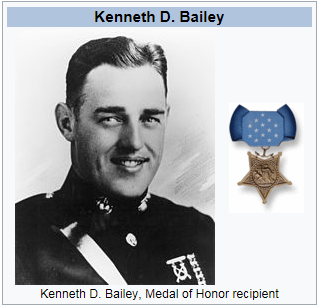
| (moh bailey.png) | Image | hoxson1 | 2074 |
| hc2-map (hc2.jpg) | Map Image | bkemp01 | 2240 |
| Description | Uploaded by |
|---|
| Title | Author | Date |
|---|
| Description | Uploaded by |
|---|
Quick Map View
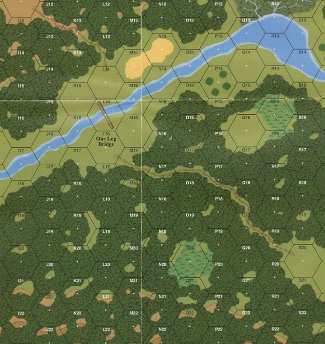
Location
Images

| Statistics: | ||
| Avg Rating: 5.00 | Votes: 1 | Views: | 5740 |
| To-Play list count: | 1 | |
| Estimated Play time: | 2.8 hours | |
| Recorded Games: | 1 | |
| Archive recorded plays: | ||
| American (USMC) | 1 | |
| Japanese | 0 | |
| Drawn: | 0 | |
| ROAR Data: (as of today) Bailey's Demise [Confirmed] |
| [A] American | 24 |
| [D] Japanese | 10 |