Just in Case WTO (id:#56150)
Arnhem, The Netherlands
1944-09-19 (41 others)
ABtF04: First Threat (HASL 6 - A Bridge Too Far)
ABtF05: Tigers to the Bridge! (HASL 6 - A Bridge Too Far)
ABtF CG II: A Dark and Fateful Day (HASL 6 - A Bridge Too Far)
A 34: Lash Out (AH:ASL Annual `91)
T10: Devil's Hill (AH:The General # 28.1)
NEWS32: Death and Ruins (ASL News # 18)
TB 5: Whoa Mohammed! (Arnhem: The Third Bridge (1st Ed.))
PB-CH (F): Bedlam Bridge (Critical Hit # 5.2)
ASL News 32: Death and Ruins (Scroungin' ASL News)
Z15: The Landing Zone (Rout Report # 4.4)
GSTK 1: Going to School (God Save the King)
GSTK 7: Raus! (God Save the King)
O93.1: School Daze (On All Fronts # 93)
O116.1: Hill 920 (On All Fronts #116)
SP56: No Good Reason (Schwerpunkt # 5: Medal of Honor)
TAC38: Whoa Mohammed! (Tactiques # 4)
TAC63: Un Train Pour Arnhem (Tactiques # 8)
DB027: Lorraine Series #3: Misty Morning Melee (Dispatches from the Bunker #13)
CH 180: The Ruins of Sillegny (Critical Hit # 7.3)
RPT4: Transylvania 6-5000 (Rally Point # 1)
2: Brave but Doomed (Witches Cauldron: Oosterbeek Perimeter)
#11: Distinguished Company (To Battle By Air 2)
LMA4: The Story of Easy Company: Frères d’arme – 4 (Frères d'arme)
J140: All Down the Line (ASL Journal # 9)
ATB5: Whoa Mohammed! (Arnhem: The Third Bridge (4th Ed.))
ESG101: Bullseye!! (Dezign Pak 8)
OO12: San Fortunato (Operation Olive - Gothic Line 1944)
SP233: Easy Come Easy Go (Schwerpunkt #20)
189: Devil's Hill (ASL 3a - Yanks (2nd Edition))
JAVA13: Bridge at Son (ASL For Fun-LCP)
TD 1: Lezey: The Germans Attack (Trench of Death #1)
NM5: Glimmer of Hope (ASLOK 2012)
GJ074: Race for the Wolfheze (Grumble Jones)
GJ078: A Day at the Museum (Grumble Jones)
#8: Molenkampen (Battle at Best)
MM 78: A Day At The Museum (March Madness 2022 Grumble Jones Pack)
MM 79: Race For The Wolfheze (March Madness 2022 Grumble Jones Pack)
GJ118: Ambush at Johannahoeve Farm (Grumble Jones)
ASLN32: Death And Ruins (Critical Hit #8.1)
GJ128: A Bloody River Run (Grumble Jones)
GJ159: The Den Brink Gate (Grumble Jones)
Designer: Russ Bunten
Starter kit scenario?: Deluxe scenario?:
Balance:
German (SS)British
Overview:
Colonel Frost could feel the German noose tightening about his weary force. No word had arrived from the remainder of the 1st Airborne Division. All positions east of the Arnhem Road Bridge were now in German hands or abandoned, nothing had been heard from Platoon 8 since the wee hours of the morning. The desperately need relief from XXX Corps was nowhere in sight. Knowing it would doom the entire operation, but also aware that the situation was rapidly deteriorating anyway, Colonel Frost gave in to recommendations that the bridge be wired for demolition while it was still in British hands. The remnants of Troop B would set the charges while Major Gough’s men provided cover. Meanwhile, spurred by reports of heavy Allied pressure near Nijmegen, Brinkmann ordered a reinforced company of Pioneers to seize the bridge and set demolitions – “just in case.” The two forces collided near the burnt out remains of the positions evacuated by Troop B earlier in the day.Attacker: German (SS) (Kampfgruppe Brinkmann, SS-Panzer Division 9)
Defender: British (Troop B, Royal Engineers and Royal Army Service Corps, 1st Parachute Brigade, 1st British Airborne Division)
6.5 turns
Players: 2 OBA: German (SS) Night: No| Unit Counts: |
| Squads: A:12.0 D:13.0 |
| AFVs: A:3 PzKpfw IVJ x 2 StuH 42 |
| AFVs: D:0 |
| Guns: A:0 D:0 |
| Misc Rules: | ABTF SSR, D: AS (A19.131) |
| Map Board(s): |
| Overlays: | NONE |
Errata (source)
Players wanting to play this game/Request a match:
Scenario info
Last Played:
View all or balance report
| Action | Date |
|---|---|
| Hutch Modified the gps location | 2025-09-19 10:02:52 |
| Hutch Modified the misc. rules | 2025-09-19 09:58:14 |
| Hutch Updated the Scenario ID | 2023-03-07 22:56:30 |
| Hutch Updated the Scenario ID | 2023-03-07 22:43:16 |
| Jude Rated the scenario | 2023-01-01 03:43:15 |
| File | Description | User | Views |
|---|---|---|---|
| Sturmhaubitze 42 in Arnhem (arnhem stuh42.png) | Image | hoxson1 | 1860 |
| (!ss-brit new.png) | Image | hoxson1 | 1526 |
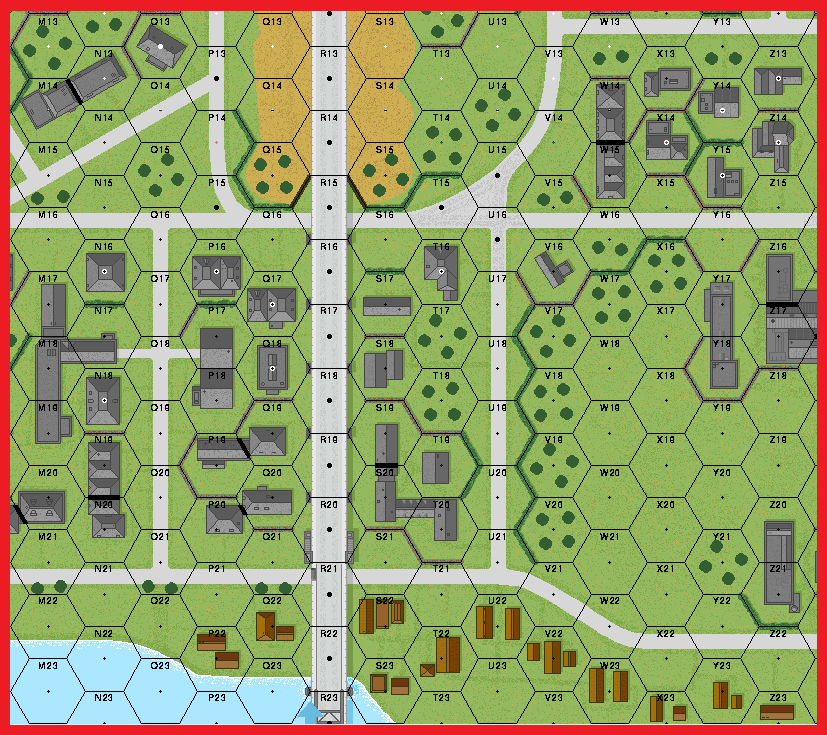
| (just in case AbtF map area.png) | Map Image | hoxson1 | 1604 |
| Description | Uploaded by |
|---|
| Title | Author | Date |
|---|
| Description | Uploaded by |
|---|
Quick Map View
Location
Images


Sturmhaubitze 42 in Arnhem
| Statistics: | ||
| Avg Rating: 4.56 | Votes: 9 | Views: | 7831 |
| To-Play list count: | 0 | |
| Estimated Play time: | 5 hours | |
| Recorded Games: | 8 | |
| Archive recorded plays: | ||
| German (SS) | 1 | |
| British | 7 | |
| Drawn: | 0 | |
| ROAR Data: (as of today) Just In Case [Log in to Confirm or Edit] |
| [A] British | 14 |
| [D] German | 2 |