Odd Angry Shot PTO (id:#61162)
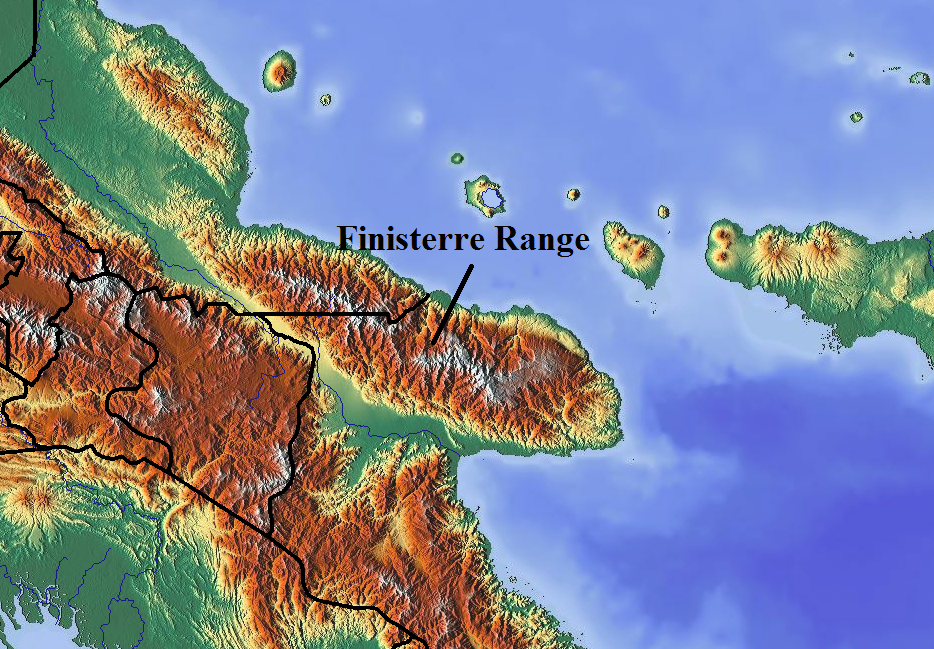
Finisterre Range, New Guinea
1943-10-12 (2 others)
Designer: Murray McCloskey
Starter kit scenario?: Deluxe scenario?:
Balance:
AustralianJapanese
Overview:
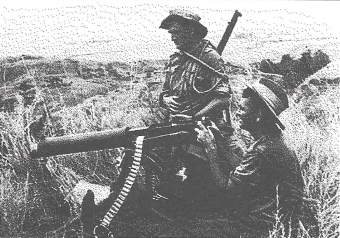
The campaign to push the Japanese out of New Guinea moved into the Markham and Ramu Valleys in 1943. The Australian 7th Division was tasked with the job of clearing these two strategic areas. As the 21st Brigade battled for high ground to the west, the 25th Brigade began to clear the Japanese from commanding heights overlooking the Ramu Valley and the Australian supply lines leading into the Finisterres. The 2/33rd Battalion had already secured the 4100-ft. feature in a daring night action which shocked the entrenched Japanese. Now the order went in for another attack on the next ridge on which the Japanese had dug in.Attacker: Australian (D Company, 2/33 Battalion, 25th Brigade)
Defender: Japanese (78th Infantry Regiment)
6.5 turns
Players: 2 OBA: None Night: No| Unit Counts: |
| Squads: A:11.0 D:9.5 |
| AFVs: A:0 |
| AFVs: D:0 |
| Guns: A:1 OML 3-in. Mortar D:0 Type 89 Heavy Grenade-Launcher |
| Misc Rules: | Grain is Kunai. A: Air Support Turns 1-3 w D: reinforcement entry edge determined by dr |
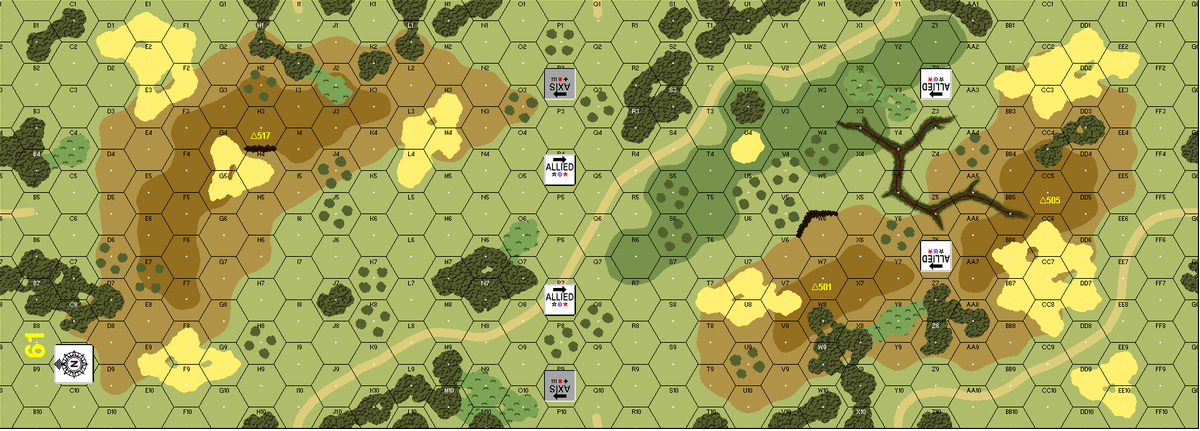
| Map Board(s): |

| Overlays: | NONE |
Errata (source)
Players wanting to play this game/Request a match:
Scenario info
Last Played:
View all or balance report
| Action | Date |
|---|---|
| RJenulis Added a playing | 2024-02-26 21:32:03 |
| Lorenzoknight Added a playing | 2022-11-26 23:40:43 |
| Lorenzoknight Rated the scenario | 2022-11-26 23:40:17 |
| hoxson1 Modified the misc. rules | 2021-06-07 18:46:30 |
| grumblejones Added a playing | 2021-06-05 01:50:55 |
| File | Description | User | Views |
|---|---|---|---|
| (auss-jap new.png) | Image | hoxson1 | 641 |
| (Finisterre Range.png) | Image | hoxson1 | 599 |
| (auss mmg guinea.png) | Image | hoxson1 | 591 |
| Map image (AP68 map.jpg) | Map Image | Dave | 1001 |
| Description | Uploaded by |
|---|
| Title | Author | Date |
|---|
| Description | Uploaded by |
|---|
Quick Map View
Location
Not found
Images

| Statistics: | ||
| Avg Rating: 6.05 | Votes: 22 | Views: | 4074 |
| To-Play list count: | 2 | |
| Estimated Play time: | 3.2 hours | |
| Recorded Games: | 13 | |
| Archive recorded plays: | ||
| Australian | 9 | |
| Japanese | 4 | |
| Drawn: | 0 | |
| ROAR Data: (as of October 2023) Odd Angry Shot [Confirmed] |
| [A] Australian | 24 |
| [D] Japanese | 15 |