The French Decide to Fight DTO (id:#64793)
Prior Publication: G.I.'s Dozen
Port-Lyautey, Morocco
1942-11-10 (9 others)
U01: The French Decide to Fight (G.I.'s Dozen)
SF4: A Few Brave Men (Stalin's Fury)
AK 36: Immediate Thrust (Afrikakorps - AK005 Operation Torch)
ESG #69: Brushwood Buzzsaw (Dezign Pak 6)
#4: A Few Brave Men (Stalin's Fury II)
RB#63: Metal Men (Night) (Stalingrad Baby Bounce 4)
HazMo26: The Happiest Days of Our Lives (HazMo Scenario Pack 3: City of Steel)
HazMo27: The Show Must Go On (HazMo Scenario Pack 3: City of Steel)
CH CS3: Picket Duty (Critical Hit #4.1 2022 Reprint)
Designer: Pat Ryan
Starter kit scenario?: Deluxe scenario?:
Balance:
AmericanVichy French
Overview:
The first phase of Operation TORCH included amphibious landings along the Atlantic coast. Many of the primary objectives included the securing of French airdromes in these areas for use in the second phase: the advance into Tunisia. One such field was located near Port-Lyautey on the Sebou River. Nestled on three sides by the Sebou, the airfield would not fall easily. A three-prong attack was decided upon. With their initial landing accomplished, one team would cross the river to the north of the airfield and participate in a coordinated attack with a second team advancing up from the southern beaches. A third group, consisting of a special raider detachment transported up the Sebou by the destroyer Dallas would land to the east. The field was to be taken before nightfall.Attacker: American (Company C, 70th Tank Battalion and Company B, 1st Battalion Landing Team, 60th Regimental Combat Team/Company I, 3rd Battalion Landing Team, 60th Regimental Combat Team/Special Raider Detachment)
Defender: Vichy French (1er Régiment d'Infanterie Marocaine)
8.5 turns
Players: 2 OBA: Both Night: No| Unit Counts: |
| Squads: A:25.0 D:18.0 |
| AFVs: A:3 M3A1 lt x 2 T30 HMC |
| AFVs: D:0 |
| Guns: A:0 M2 60mm Mortar x 2 D:4 Canon de 75 CA mle 32 Canon AC de 47 SA mle 37 APX x 2 Mitr. de 20 CA mle 39 O |
| Misc Rules: | Grain: In Season, Bldgs: Wooden. A: Random group entry, Observation Plane (E7.6) |
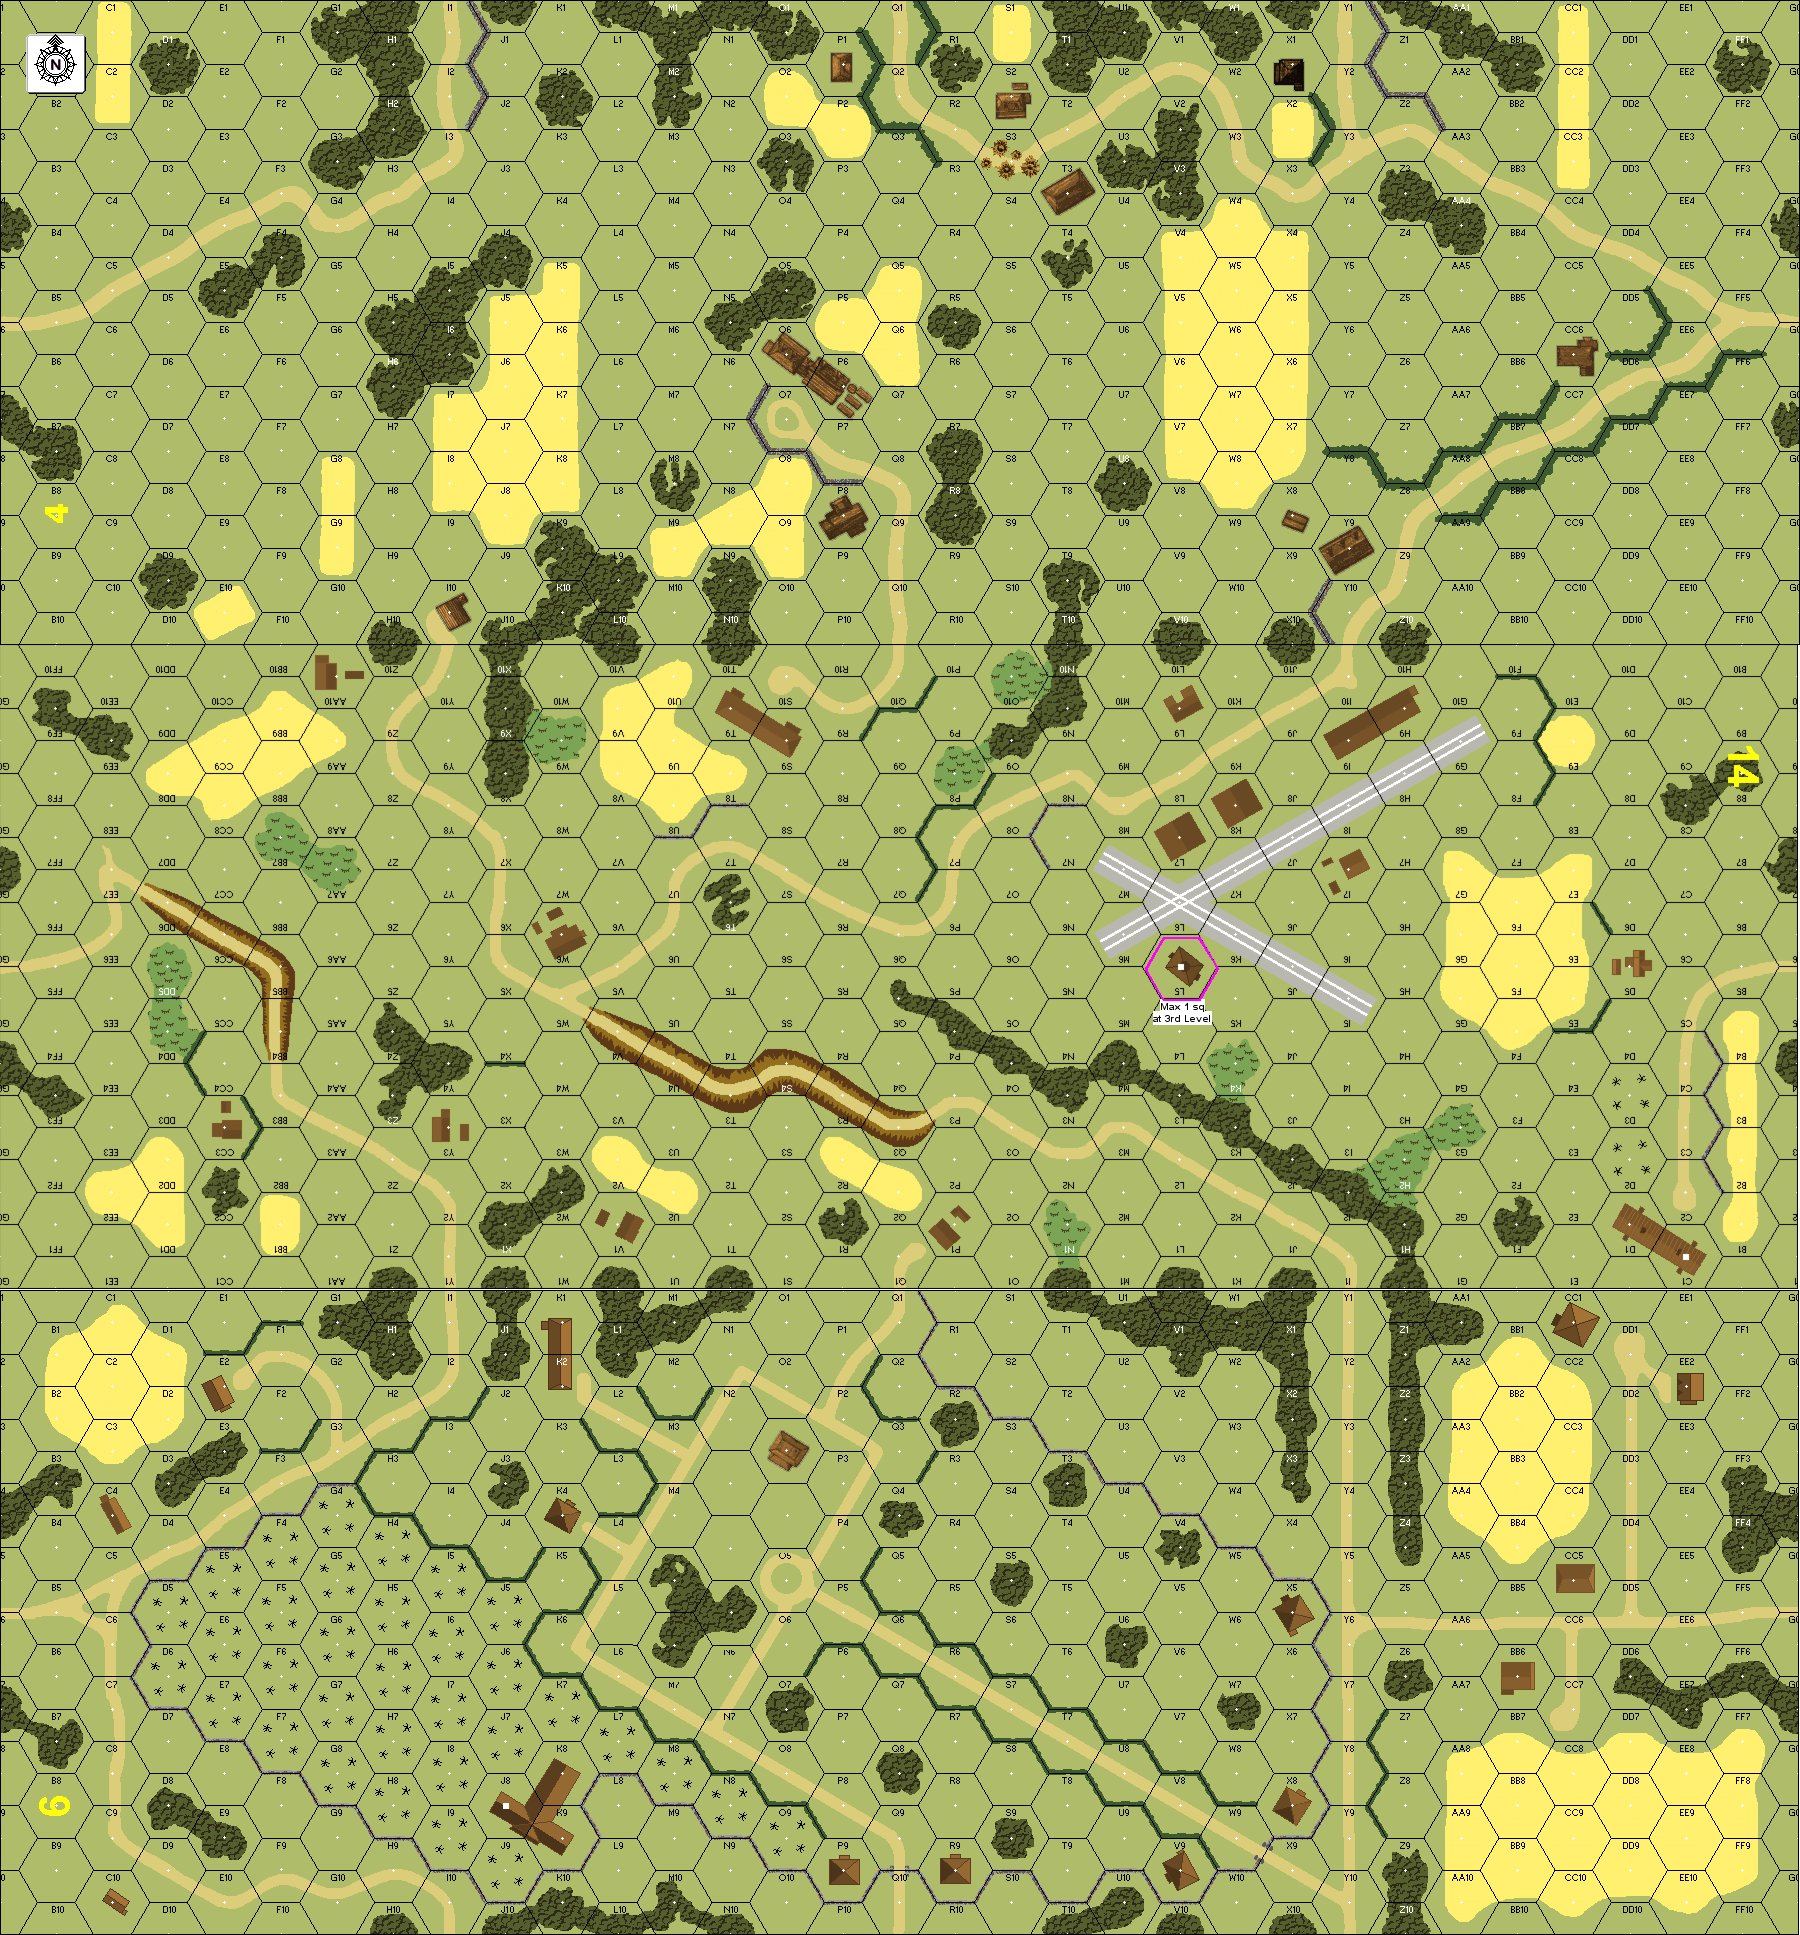
| Map Board(s): |
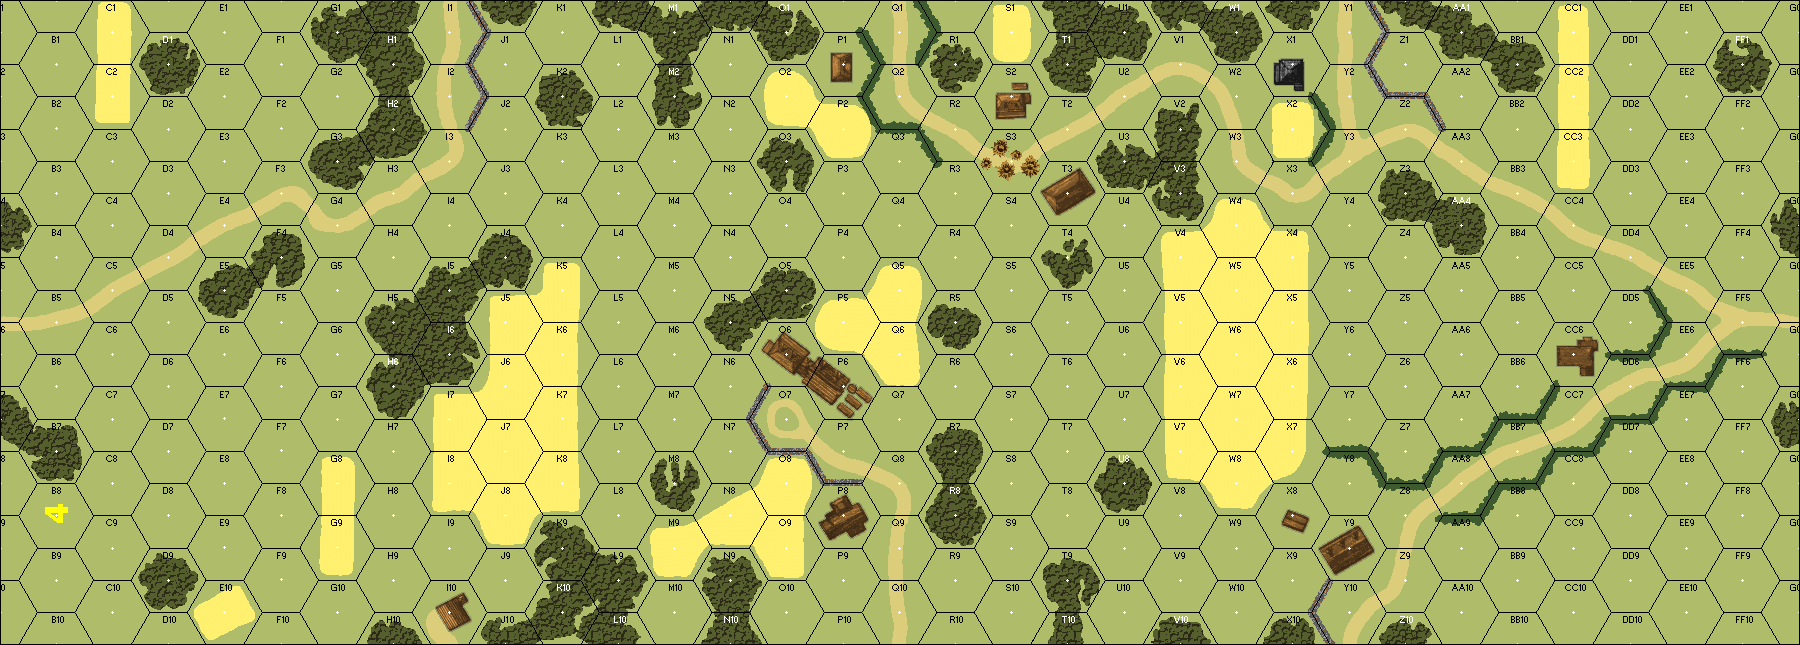
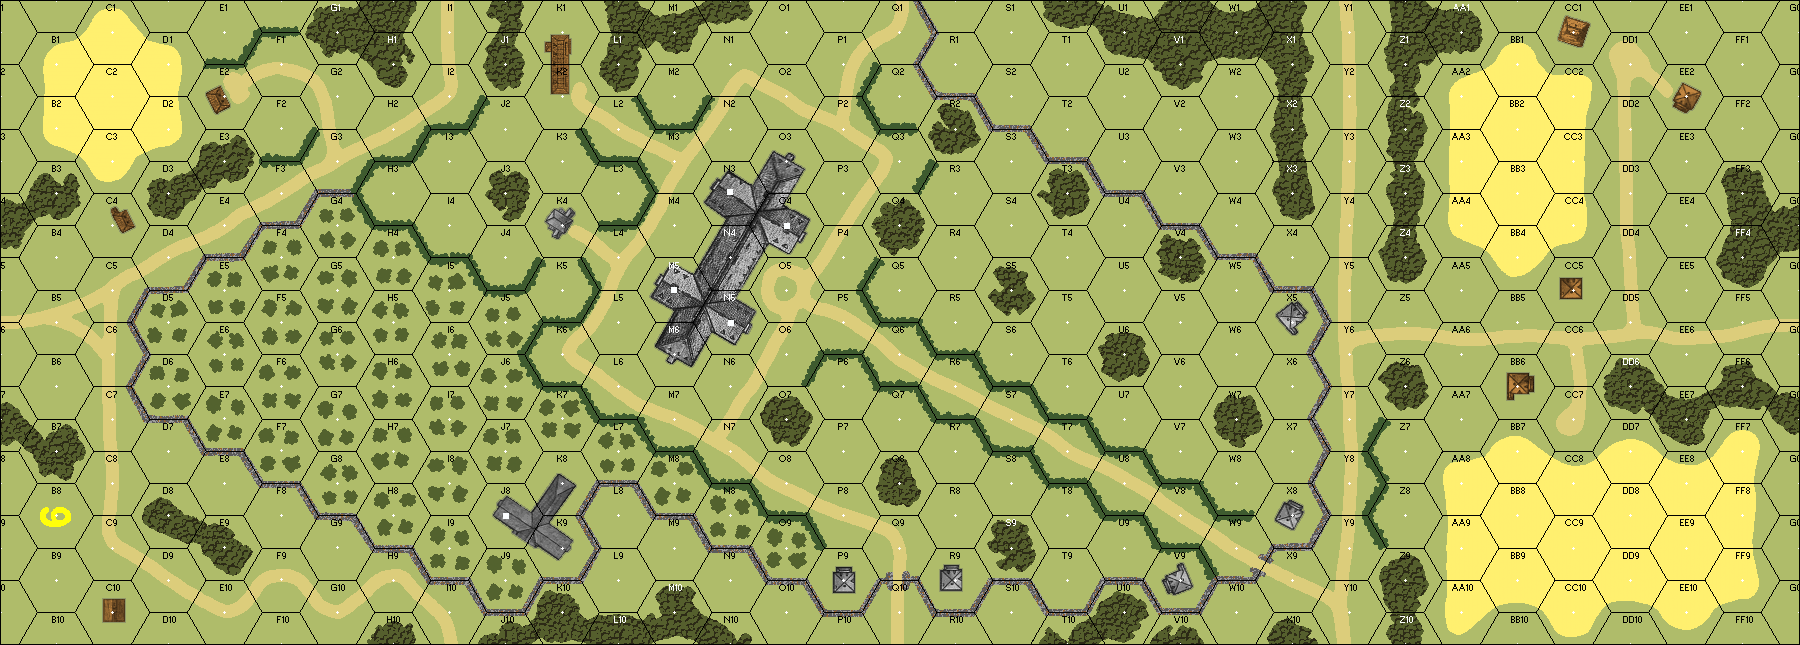
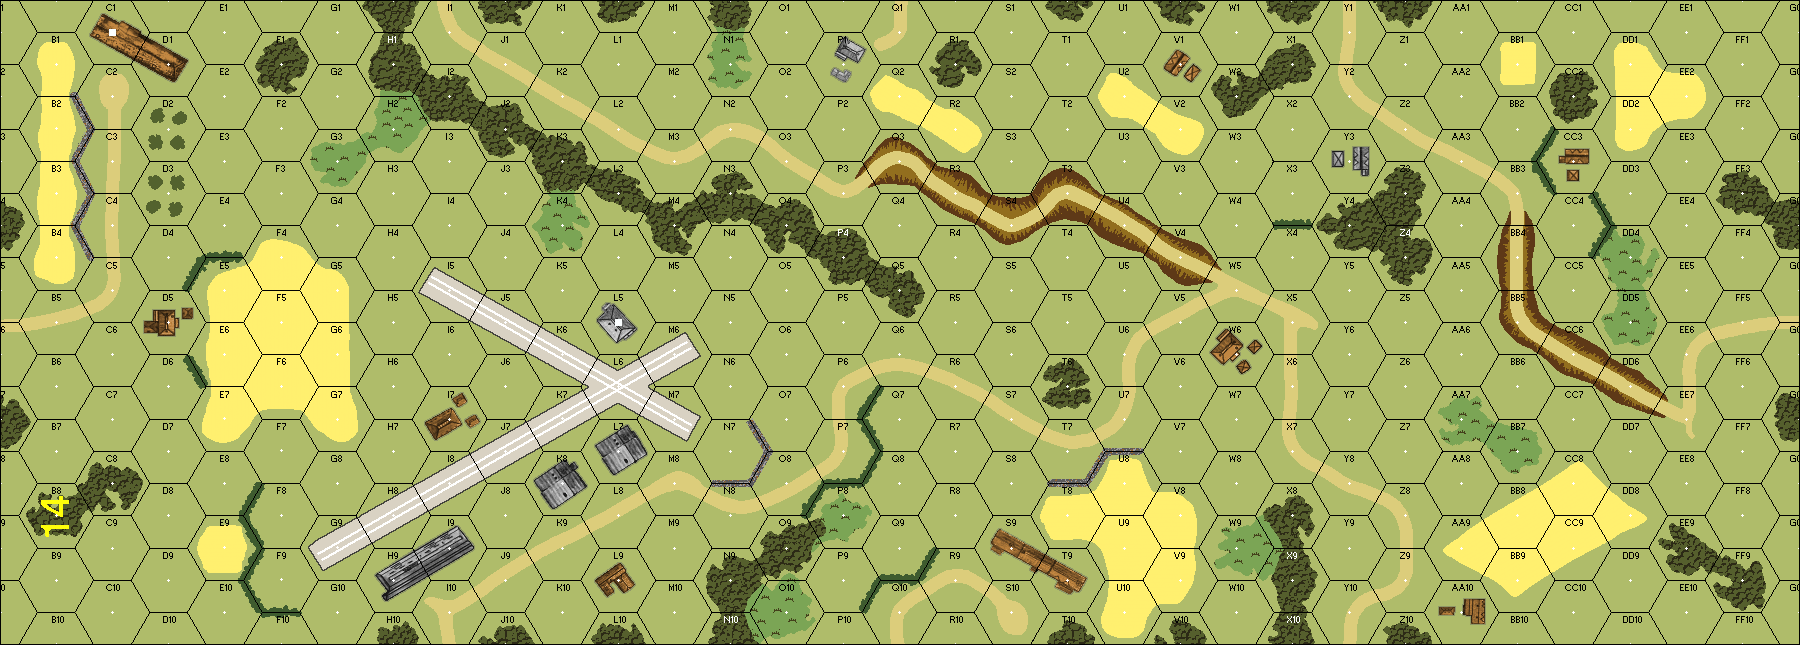
| Overlays: | X9 | OG3 | Wd3 |
Errata (source)
Players wanting to play this game/Request a match:
Scenario info
Last Played:
View all or balance report
| Action | Date |
|---|---|
| Hutch Modified the unit counts | 2025-11-10 13:50:46 |
| Hutch Modified the Defender's Guns | 2025-11-10 13:50:46 |
| Hutch Modified the unit counts | 2025-11-10 13:49:14 |
| Hutch Modified the Attacker's AFVs | 2025-11-10 13:49:14 |
| Hutch Modified the Attacker's Guns | 2025-11-10 13:49:14 |
| File | Description | User | Views |
|---|---|---|---|
| (usa-vichy.png) | Image | hoxson1 | 1540 |
| T30 Howitzer Motor Carriage (t30 hmc 75mm howitzer.png) | Image | hoxson1 | 1629 |
| (U1.png) | Map Image | hoxson1 | 1712 |
| Description | Uploaded by |
|---|
| Title | Author | Date |
|---|
| Description | Uploaded by |
|---|
Quick Map View
Location
Images

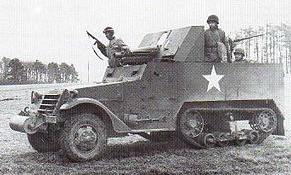
T30 Howitzer Motor Carriage
| Statistics: | ||
| Avg Rating: 6.40 | Votes: 10 | Views: | 0 |
| To-Play list count: | 1 | |
| Estimated Play time: | 11.2 hours | |
| Recorded Games: | 4 | |
| Archive recorded plays: | ||
| American | 3 | |
| Vichy French | 1 | |
| Drawn: | 0 | |
| ROAR Data: (as of today) The French Decide to Fight [Confirmed] |
| [A] American | 6 |
| [D] Vichy | 6 |