Seizing the Sittang Bridge CBI (id:#58820)
Toungoo, Burma
1942-03-29 (11 others)
28: Ambush! (ASL 4 - Partisan!)
69: Today We Attack (ASL 9 - Gung Ho!)
PBP 15: The Road to Mandalay (Paddington Bears '97 Pack)
MP17: Bagging Burcorps (Melee Pack III)
BFP-45: BIA's First Battle (BFP 3: Blood and Jungle)
FT164: Guts Are Not Enough (From The Cellar Pack # 6)
PBP 15: The Road to Mandalay (Aussie `97 Pack)
69: Today We Attack (ASL 13 - Rising Sun)
28: Ambush! (ASL 12 - Armies of Oblivion (2nd Edition))
69: Today We Attack (ASL 13 - Rising Sun (2021))
AP212: Independence Delayed (ASL Action Pack #19 Roads to Rangoon)
Designer: Brian Williams
Starter kit scenario?: Deluxe scenario?:
Balance:
JapaneseChinese
Overview:
With new Chinese troops, it was hoped that the Burma Road could be kept open. However, the Japanese had different plans and a different timetable. With the opening of Rangoon after it fell, two new Japanese divisions arrived, the 18th and 56th Divisions. The 56th Division’s recon regiment left Rangoon on 26 March as the 55th Division battled for the important town of Toungoo. Crossing the Sittang below Toungoo, the lead units of the recon regiment approached the bridge from the east. Their attack, coming from an unexpected quarter and with armored cars, surprised the Chinese guarding the bridge.Attacker: Japanese (56th Reconnaissance Regt, 56th Division)
Defender: Chinese (200th Division, 5th Army)
5.5 turns
Players: 2 OBA: None Night: No| Unit Counts: |
| Squads: A:7.0 D:10.0 |
| AFVs: A:2 Type 92 x 2 |
| AFVs: D:0 |
| Guns: A:0 Type 89 Heavy Grenade-Launcher x 2 D:0 5cm leGrW 36(g) |
| Misc Rules: | PTO (G.1), LJ (G2.1) Exc: Roads/Bridge exist, Brush: Brush. A: AE (H1.22), D: Lax (A11.8) |
| Map Board(s): |

| Overlays: | NONE |
Errata (source)
Players wanting to play this game/Request a match:
Scenario info
Last Played:
View all or balance report
| Action | Date |
|---|---|
| Hutch Modified the gps location | 2025-04-30 11:29:10 |
| Hutch Modified the misc. rules | 2025-04-30 11:27:01 |
| Hutch Modified the Unit Elements | 2025-04-30 11:25:15 |
| tatumjonj Added a playing | 2025-04-29 22:03:46 |
| tatumjonj Rated the scenario | 2025-04-29 21:56:14 |
| File | Description | User | Views |
|---|---|---|---|
| (jap-kmt.png) | Image | hoxson1 | 1744 |
| Type 92 Chiyoda Armored Car (type 92 armored car.png) | Image | hoxson1 | 1707 |
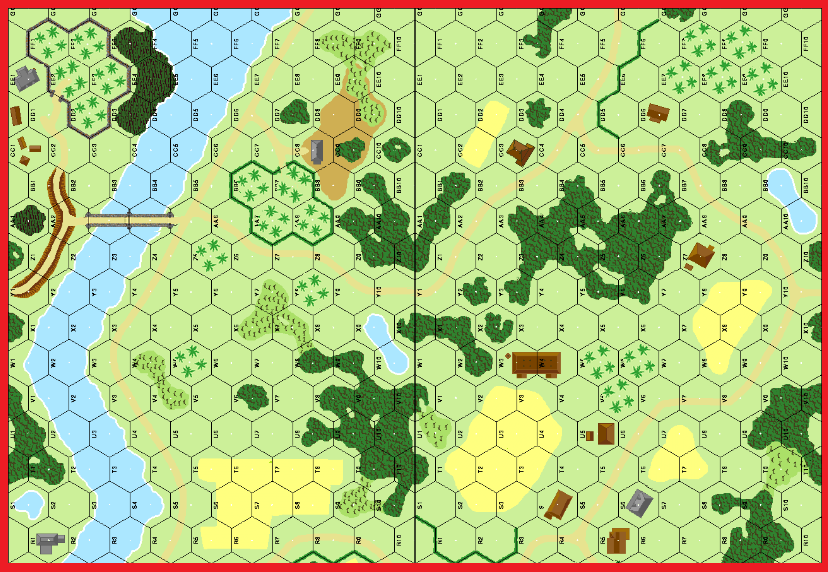
| VASL Map (SP118-VASLMap.png) | Map Image | bkemp01 | 1926 |
| (sittang bridge N correct.png) | Map Image | hoxson1 | 1635 |
| Description | Uploaded by |
|---|---|
| West Coast Rumble 2008 | asevenson |
| Title | Author | Date |
|---|
| Description | Uploaded by |
|---|
Quick Map View
Location
Images
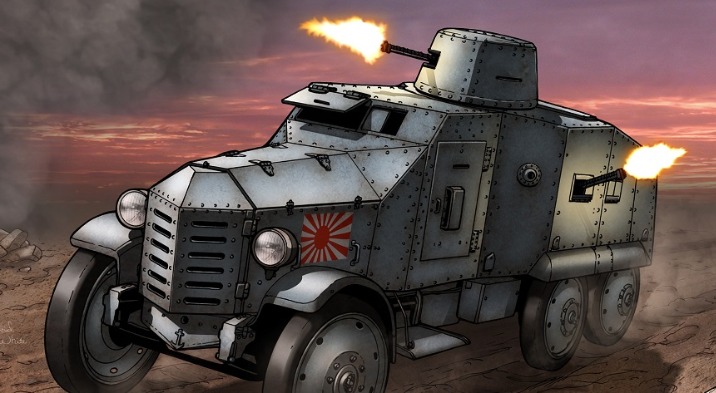
Type 92 Chiyoda Armored Car

| Statistics: | ||
| Avg Rating: 6.87 | Votes: 15 | Views: | 7934 |
| To-Play list count: | 0 | |
| Estimated Play time: | 2.6 hours | |
| Recorded Games: | 19 | |
| Archive recorded plays: | ||
| Japanese | 9 | |
| Chinese | 10 | |
| Drawn: | 0 | |
| ROAR Data: (as of today) Seizing the Sittang Bridge [Log in to Confirm or Edit] |
| [A] Chinese | 38 |
| [D] Japanese | 52 |