homepage
  • Your recently viewed scenarios
    • Blick's Balk
      Bongiovanni played the scenario
      Grab and Go
      Andy_Bagley played the scenario
      Engineering Defeat
      manzoliandrea72 played the scenario
      Kenny's Attack
      RJenulis played the scenario
      Horror Show
      grumblejones played the scenario
      Horror Show
      Danno played the scenario
  • Not Logged In
  • Home
  • Shop for Scenarios
  • Article List
  • Reviews
  • Advanced Search
  • Game Search
  • Maps
  • Scenario Map
  • Games Wanted
  • Publications
  • Scenario Picker
  • Reports
    • Balance
    • Statistics
  • Contact
  • Events
  • Scenario Lists
  • Information
    • REST API
    • Privacy policy
    • Terms and Conditions
  • Login/Register
    • Login
    • Register
Coke Hill PTO (id:#60725)
(BFP 3: Blood and Jungle ID: BFP-67)   [next]   [previous]
Coke Hill, Balikpapan, Borneo 1945-07-09 (0 others)
Designer: Chas Smith
Starter kit scenario?:    Deluxe scenario?:
 
Balance:
AustralianJapanese
62.5%

Overview:

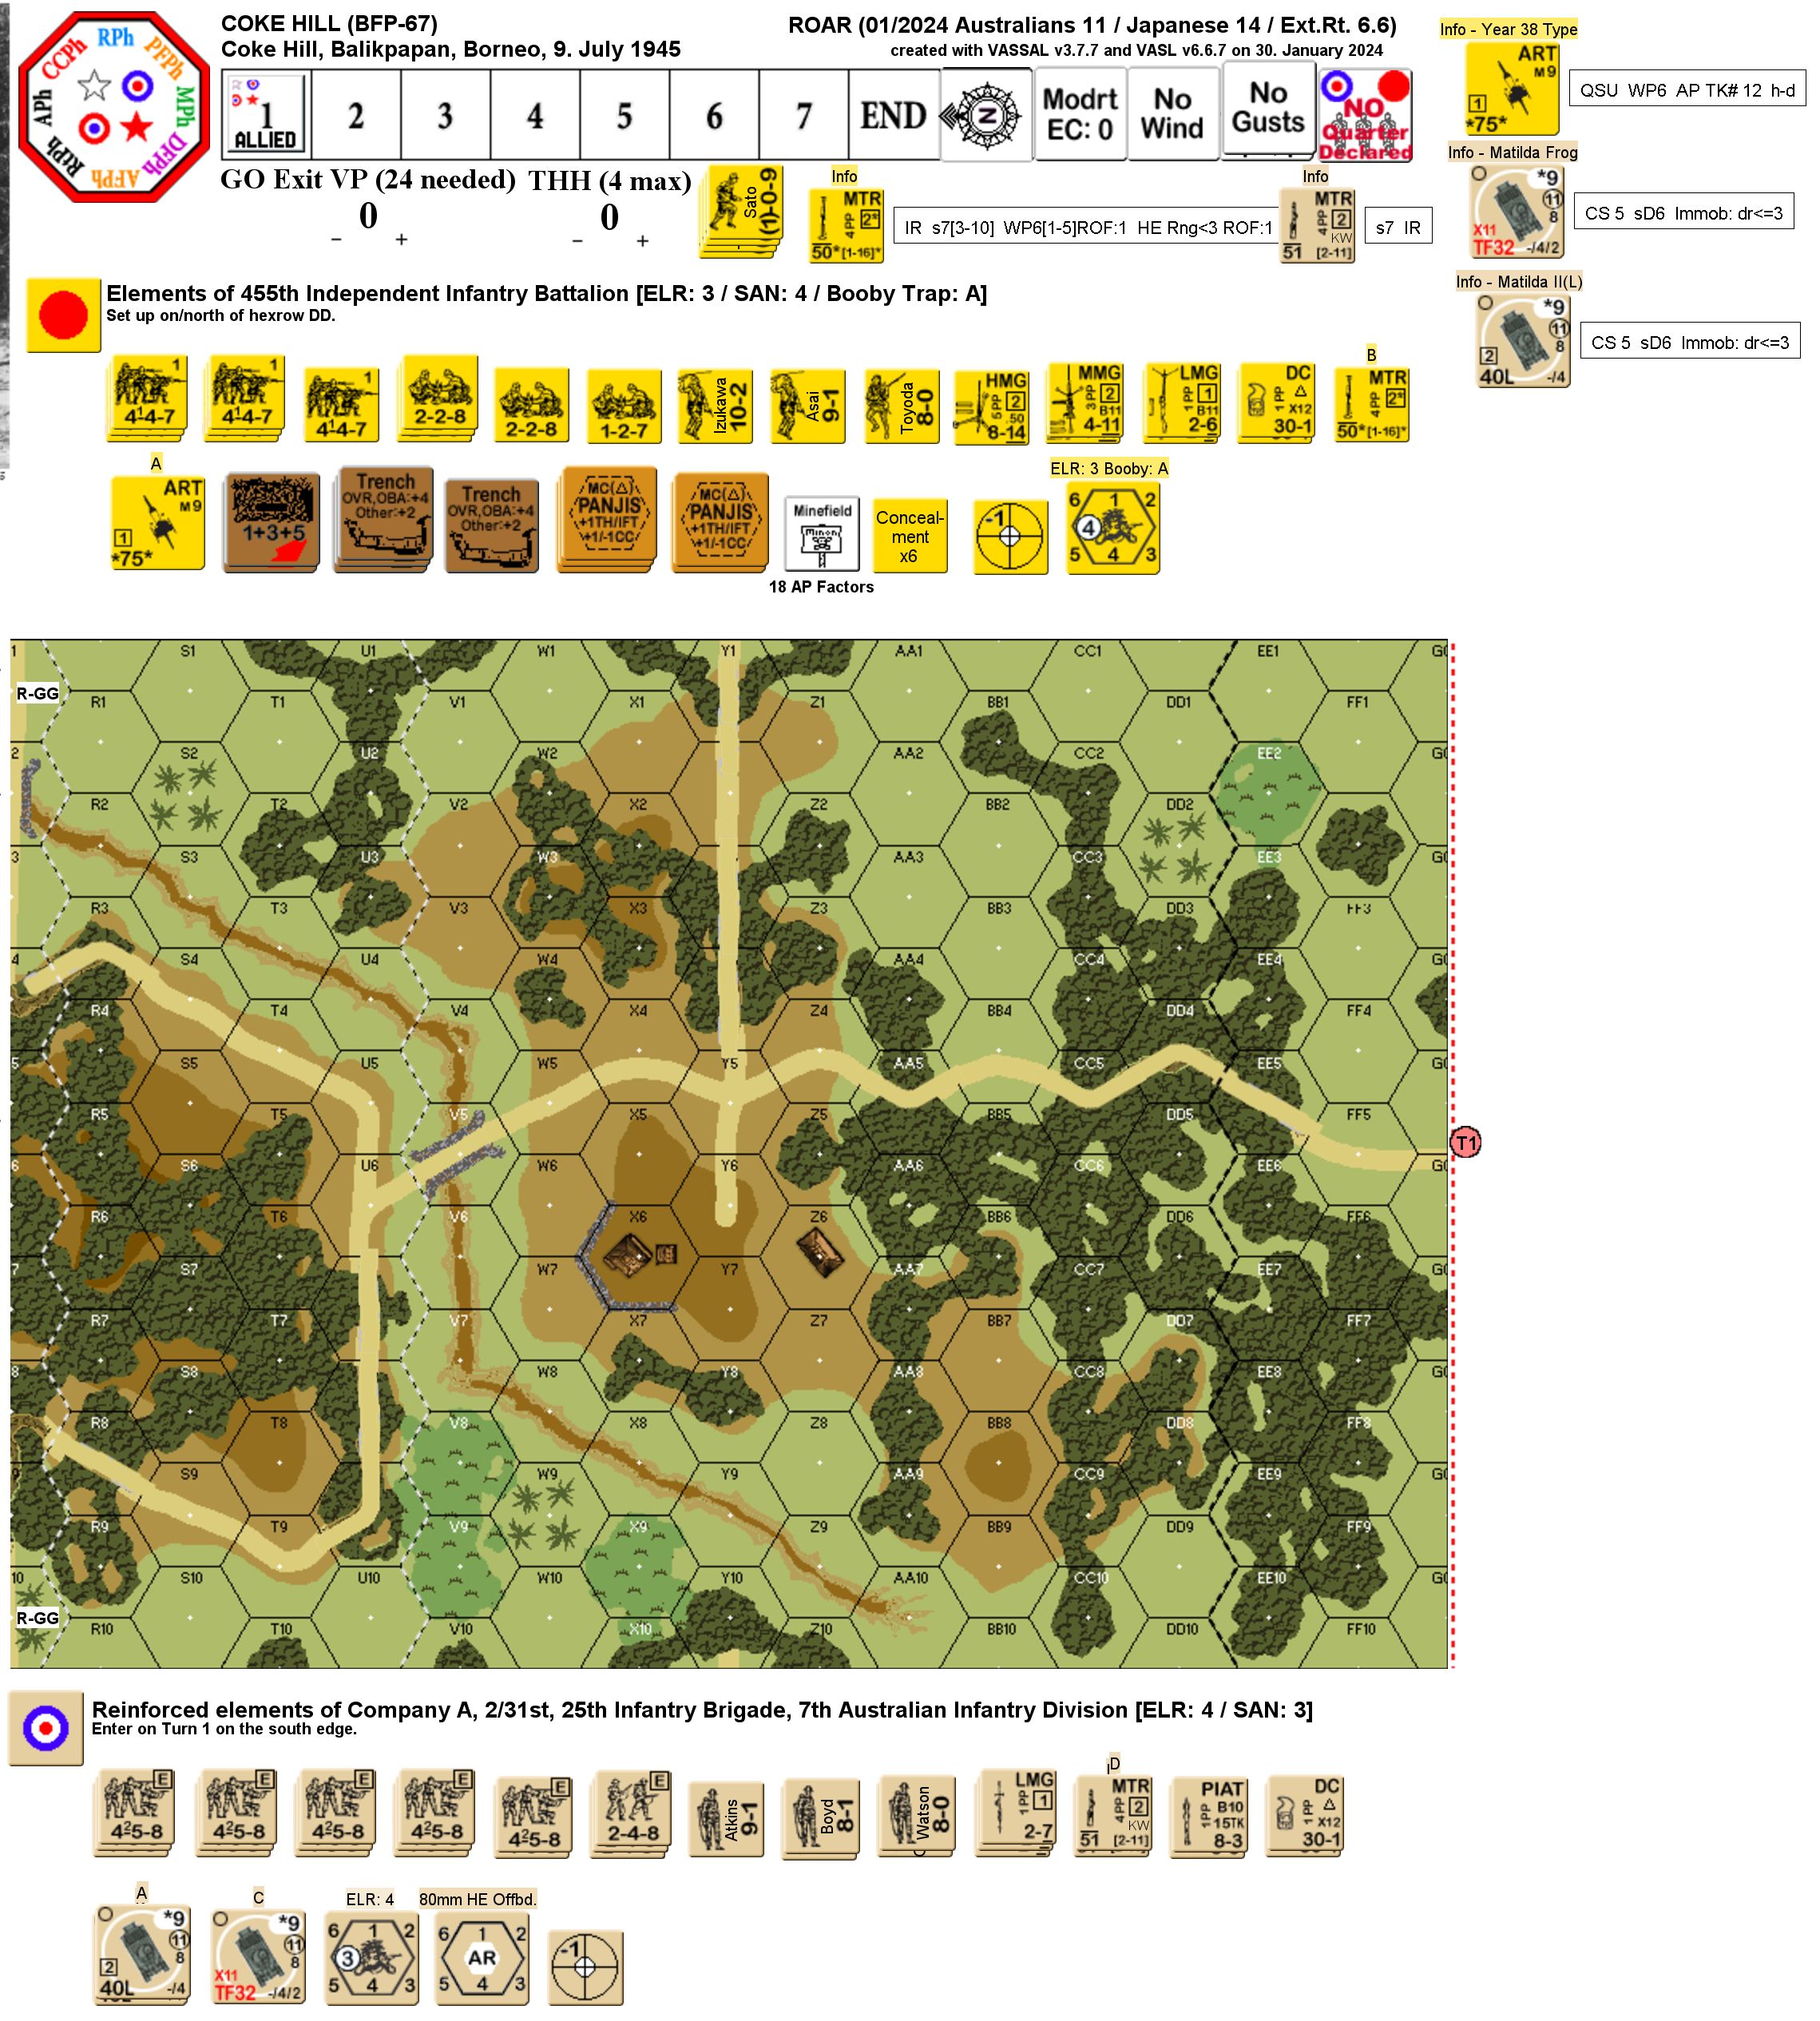
The Australian 7th Infantry Division was tasked to execute Oboe 2, the operation to take Balikpapan. The initial landings were made on 1 July at Klandasan on the south coats. The beachhead was secured, and the Japanese began to withdraw to better defensive positions. The Australians were extremely well-supported with artillery and air support, and continued to press the advance. On 9 July a significant penetration was being made in a general northerly direction, and Company A was ordered to take Coke Hill in the afternoon. They were reinforced by two Matildas and a Matilda Frog from the 4th Armoured Brigade.
Attacker: Australian (Reinforced elements of Company A, 2/31st, 25th Infantry Brigade, 7th Australian Infantry Division)
Defender: Japanese (Elements of 455th Independent Infantry Battalion)  
7 turns
    Players: 2     OBA: Australian     Night: No
Unit Counts:
Squads: A:14.0 D:7.0
AFVs: A:3
Matilda II x 2
Matilda II Frog

AFVs: D:0
Guns: A:0
OML 2-in. Mortar x 2
D:1
Year-38 Type Field Gun (Improved)
Type 89 Heavy Grenade-Launcher

Victory Conditions:

Exit VP: Building Control VC: Area Control VC:
Unit Based VC: LOS Style VC: CVP Cap:
Misc Rules: PTO (G.1) Exc: Roads/Bridge exist, LJ hex FF2, Stream: Dry. A: FTV (D3.6), D: BT: Level A (B29.9)
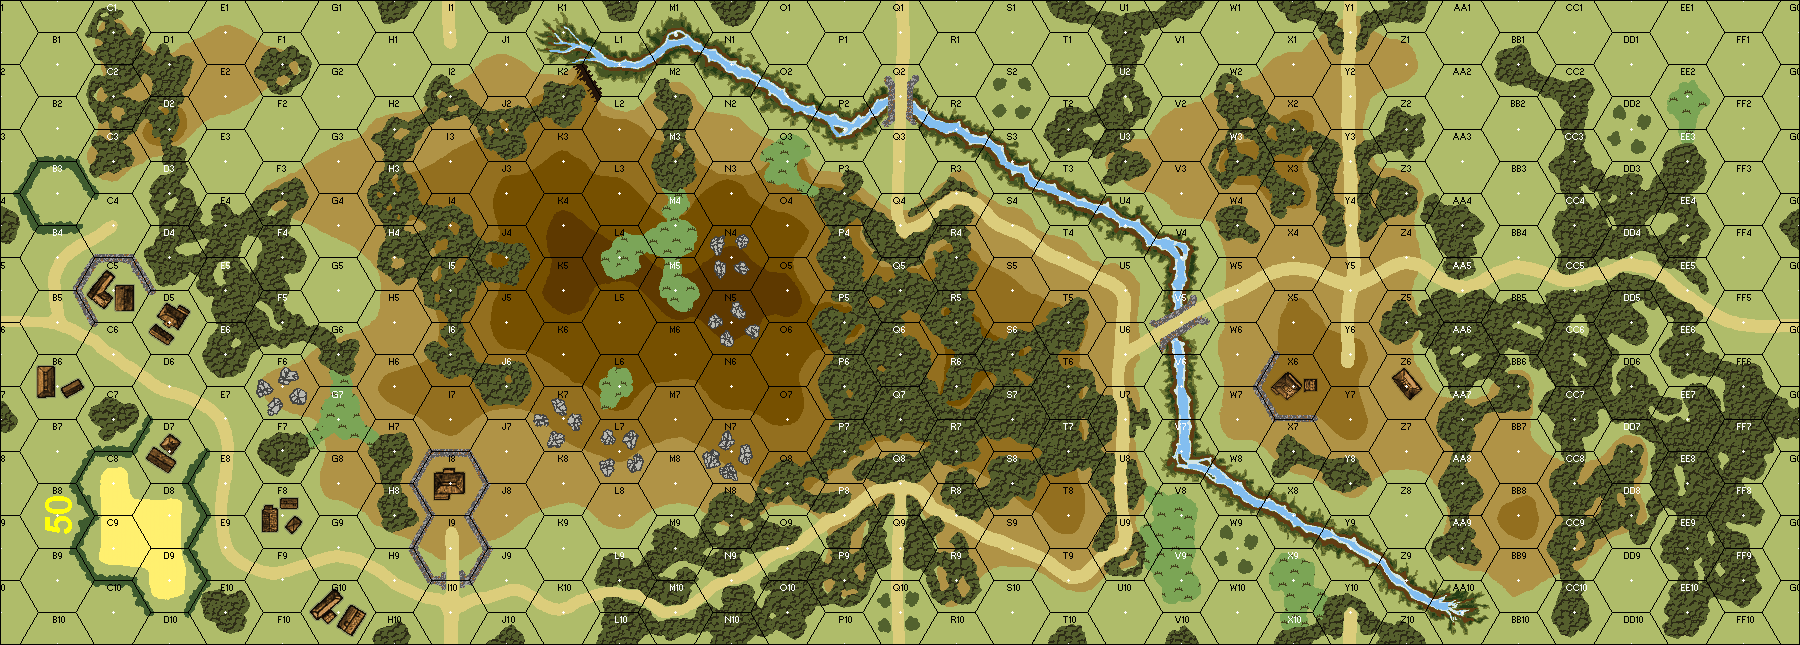
Map Board(s):
50 Show/hide map dependencies
PublicationBoard
ASL 12 - Armies of Oblivion50
ASL 12 - Armies of Oblivion (2nd Edition)50
Overlays: NONE
Errata (source)
Players wanting to play this game/Request a match:

Scenario info

  • Recent Playings
  • Latest Updates
  • User Files
  • Public Lists
  • Comments
  • Links/References
Last Played:
DateReporterOpponentBal.ResultTimeComments
2025-04-10(A) Jeff B vs John Fedoriw Australian win6.75 hrsVery concerned about all the HIP tricks the Japs had in their arsenal, so much of my force entered and searched (which is always difficult in itself vs Japs). He decided to allow me to keep conceal rather than give anything away. Turn 2 saw a lot of Oz casualties as his sniper brained an 8-1, and I lost two squads to his one HS. But all of his dummies were exposed, and I took my first hill hex. Panjis proved to be a nuisance in the eastern jungled hill. Turn 3 saw my Frog and accompanying infantry take out a berserk Jap squad, while I lost 1.5 squads of my own. This was a trade ratio I could afford though with all the Oz bodies. My Frog was on track to clear out a hex per turn, and he really had no answers for any of my armor. I discovered the western hill was mined. so a Matilda rolled through to create a TB and capture two more hill hexes. he abandoned the untenable eastern woods in favor of making for his northern alamo across the stream, or setting up shop for a last stand in the NE jungle. Turn 4 saw me lose my FT as I crawled forward through the difficult terrain. It was obviously looking to come down to the NE jungle for the finale. Turn 5 was more of the same, though I did get lucky a clear out another 1.5 Jap squads. My OBA finally got into the action, being limited before my concealed Japs or lousy LOS, but it was mostly just a deterrent for him repositioning. Turn 6 saw me luck out again when a Jap squad rolled boxcars, only to be followed on Turn 7 by yet another on his rally by the repositioned 10-2/HMG. These guys would be a scary prospect to park next to (which I'd have to do as they were adjacent to the VC area). But in the end he didn't have quite enough muscle to keep me out, and I was averaging "6" on my MCs, so I came away with a fairly comfy victory. Both of us eschewed the mad dashes we each could've done at the end, as we despise scenarios that encourage that. So this one was certainly nothing special; a bit of a slog, and ho-hum from mid-game on.
2025-03-23(A) walter mcwilliams vs Tom Kearney Japanese winCame down to the very end. We both had a lot of plans go wrong and very few go right. In the end I came up 2 CVP short and the final CC ended in a melee. Highly recommend!
2025-03-07(D) Paul Legg vs Ian Ainsworth Australian winHeroes 2025 - Round 1
2025-03-07(A) Ian Morris vs Ian Pollard Australian win
2025-03-06(A) Paul Legg vs Stuart Brant Australian win
View all or balance report
ActionDate
buser333 Added a playing2025-04-11 11:18:49
SGT Mac Added a playing2025-03-28 22:14:18
Hutch Modified the misc. rules2025-03-26 12:06:48
Hutch Modified the unit counts2025-03-26 12:05:16
Hutch Modified the Defender's Guns2025-03-26 12:05:16
FileDescriptionUserViews
(BFP067 Coke Hill v667.vsav)VASL Setupvon Marwitz610
(auss-jap new.png)Imagehoxson11317
(coke hill map.png)Map Imagehoxson11043
(BFP067 Coke Hill without picture.jpg)Map Imagevon Marwitz426
DescriptionUploaded by
TitleAuthorDate
DescriptionUploaded by

Quick Map View

Location

Images

 
Statistics:
Avg Rating: 7.15Votes: 13
Views: 5067
To-Play list count: 5
Estimated Play time: 4.9 hours
Recorded Games: 16
Archive recorded plays:
Australian10
Japanese6
Drawn:0

ROAR Data: (as of today)
Coke Hill
[Log in to Confirm or Edit]
[A] Australian 12
[D] Japanese 14
All Rights Reserved. (c)2022 Dave Ramsey.